Hudson Creative Documentation
WordPress Installation on Hudson Creative Server
Web Server Upload
Make sure you have an FTP application installed. For this example we will use cyberduck.
Please see Hudson Creative ALA Sheet for FTP host, user & password.
Create a new virtual host folder named the final domain name i.e. iiibywolfgangpuck.com
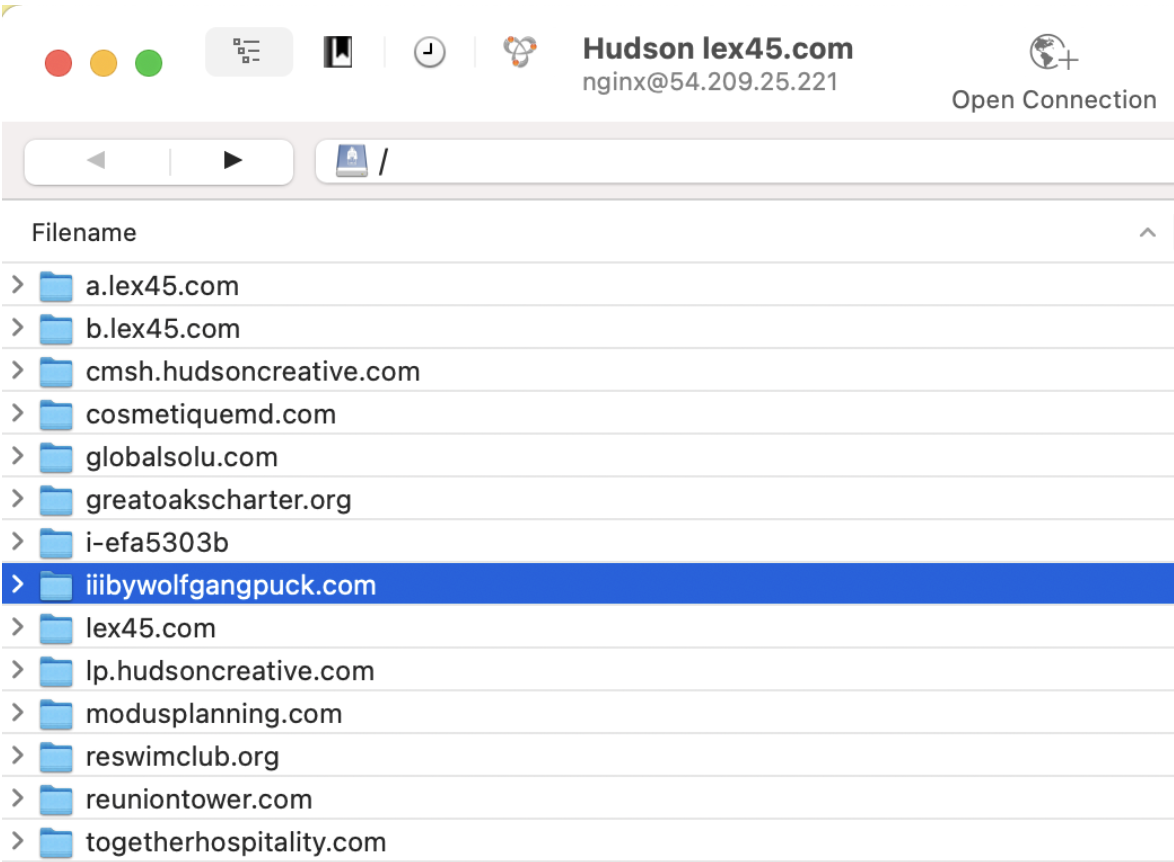
Upload all contents of the existing WordPress folder to this new folder.
If there is no provided WordPress website, you can download a fresh copy at wordpress.org
Creating A New MySQL Database for WordPress
Make sure you have a database management application installed. For this example we will use sequel pro.
Please see Hudson Creative ALA Sheet for MySql host, user & password.
Create a new MySQL database named the final domain name i.e. iiibywolfgangpuck.com
See video below
If we are creating a new WordPress website you can skip this NEXT step. WordPress will populate the database when we run the installer later.
Navigate to the top toolbar and click, “File” -> “Import…” – > select the existing SQL dump file on your local machine.
Creating New Website Configuration Files (nginx)
For this we will be using terminal to initialize a SSH connection to the server.
We will be including a process doc to establish a SSH tunnel soon…
Run the command cd /etc/nginx/conf.d/ to navigate to the folder where all of the website config files live.
Run the command ls to make sure you’re in the right place. You should see a similar list to the image below.
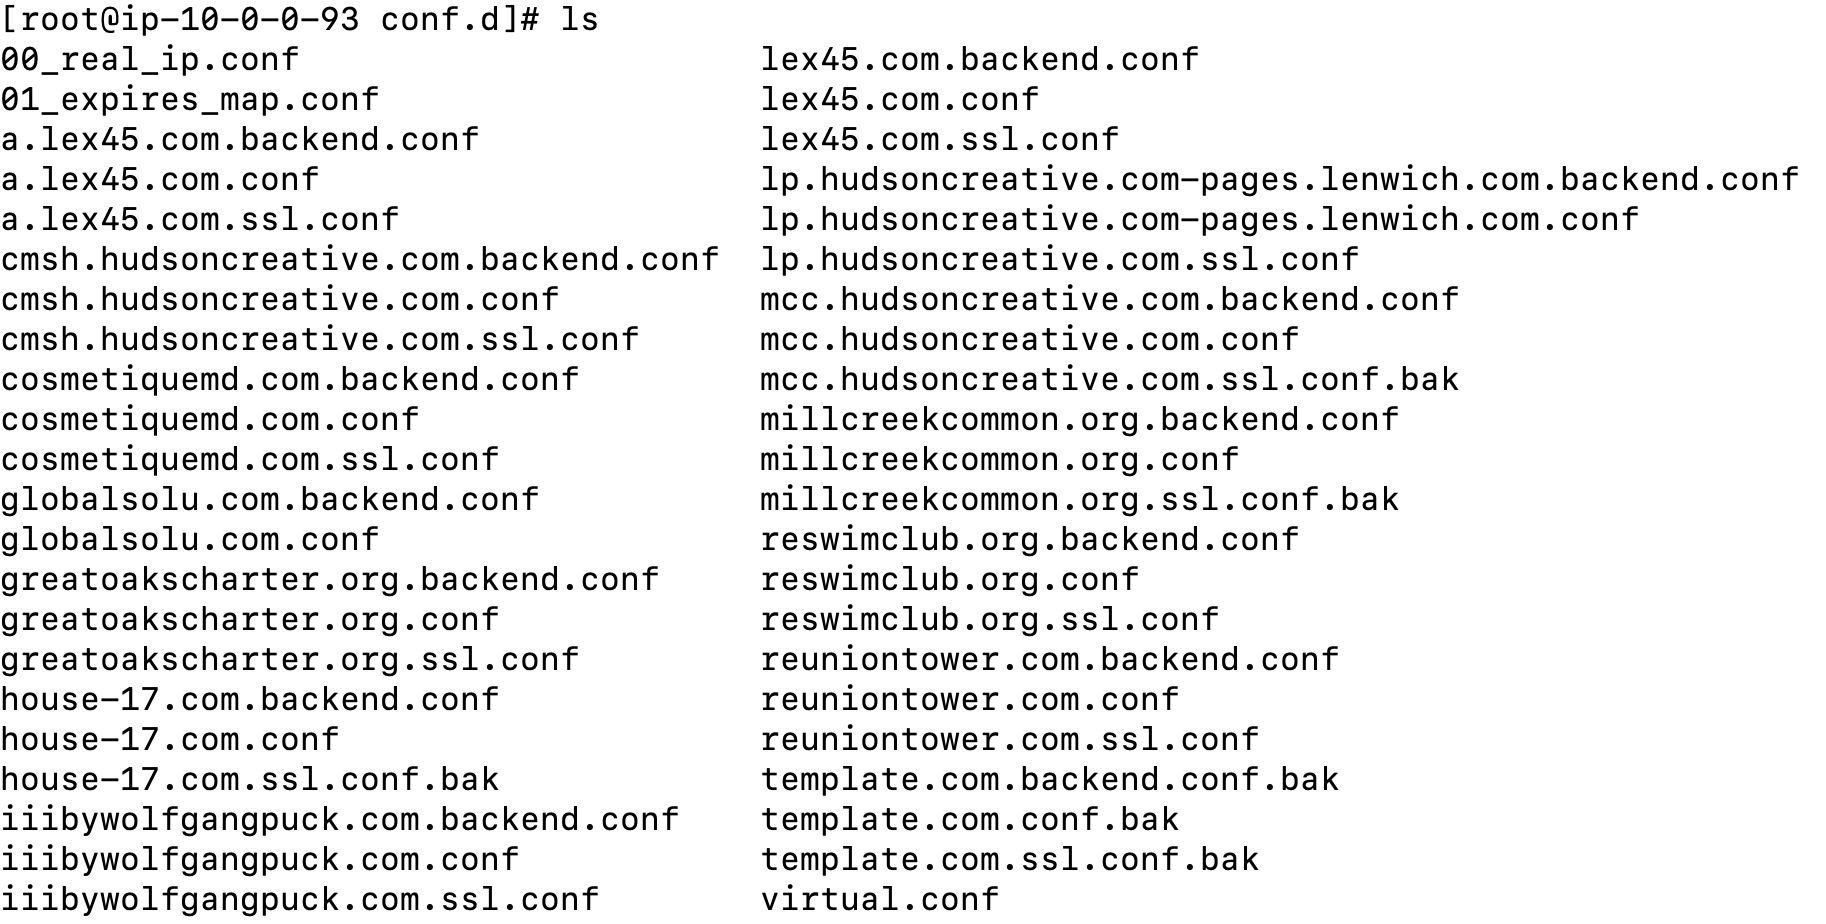
Let’s copy the three main config files we need for this new site.
Type in the following commands:
cp template.com.backend.conf.bak yourdomain.com.backend.conf
cp template.com.conf.bak yourdomain.com.conf
cp template.com.ssl.conf.bak yourdomain.com.ssl.conf
Again, please note that you will not actually be using “yourdomain.com”
We will be using the nano editor to edit these configuration files.
The goal is to replace all instances of “template.com” within these config files, with “yourdomain.com”.
Type in the following command to open the first config file in the nano editor.
nano yourdomain.com.backend.conf
Press “CTRL” + “\” to open the find and replace tool.
It should look like this:

Type “template.com” and hit enter.
Type in the new domain “yourdomain.com” and hit enter.
Type “A” to replace all instances with the new domain.
Type “CTRL” + “O” to save the document.
Type “CTRL” + “X” to exit the nano editor.
Hide the SSL capability until it’s time to go live!
We do this by adding .bak to the .ssl config file. This renders it as a back-up file.
mv yourdomain.com.ssl.conf yourdomain.com.ssl.conf.bak
Now let’s restart our server.
service nginx restart
Adding the new domain to Cloudfare.
Please refer to the Hudson Creative ALA Sheet for the cloudfare credentials.
For this example we are adding a new test subdomain on our hudsoncreative.com account.
“Click” -> “hudsoncreative.com” – >”DNS Settings”
Input the following information.

Uploading our template wp-config file & modifying it.
Navigate over to the “Creative Department” folder in the shared Hudon Creative google drive.
Then select “New WordPress Virtual Host” -> “wp-content”
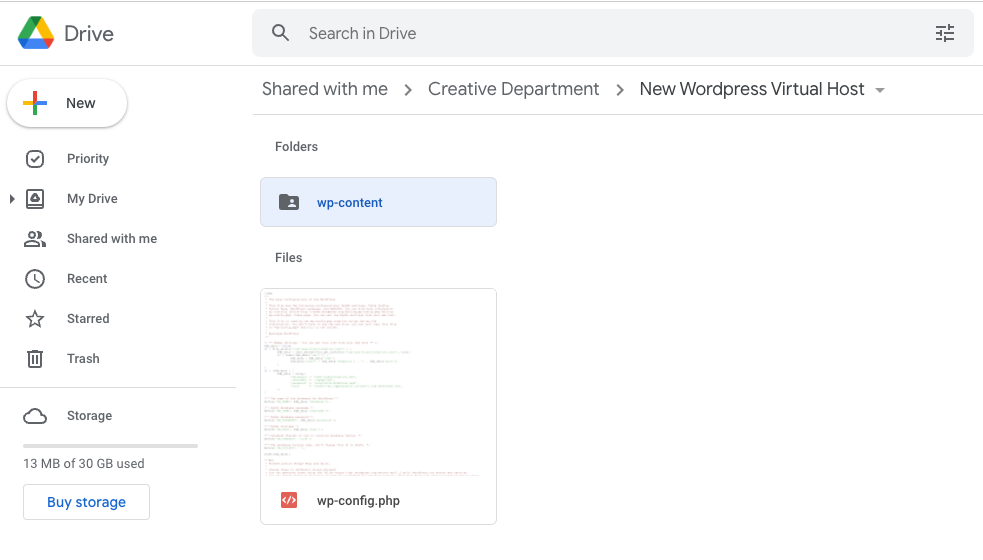
Download all the zip files you find in this folder & upload them to the yourdomain.com folder you created earlier via FTP.
Open up wp-config.php in your favorite text or code editor.
You will need to generate new keys & salts, you can do so by clicking here.
Replace the existing keys and salts that located in the config file.
Don’t forget to also define our new site!
Please add the following lines to the bottom of wp-config.php
define( ‘WP_HOME’, ‘http://yourdomain.hudsoncreative.com’ );
define( ‘WP_SITEURL’, ‘http://yourdomain.hudsoncreative.com’ );
Save and upload your new wp-config.php file to the same location you downloaded it from.
Pro tip: save a backup as wp-config.php.bak
Let’s check everything out!
To ensure that everything is working properly, try to access the new defined URL.
http://yourdomain.hudsoncreative.com
If you set up everything correct, you should be seeing a similar site to the one you uploaded.
DO NOT WORRY IF IMAGES ARE NOT SHOWING PROPERLY
If this is a new site, you will be greeted with the installer screen like the one below:
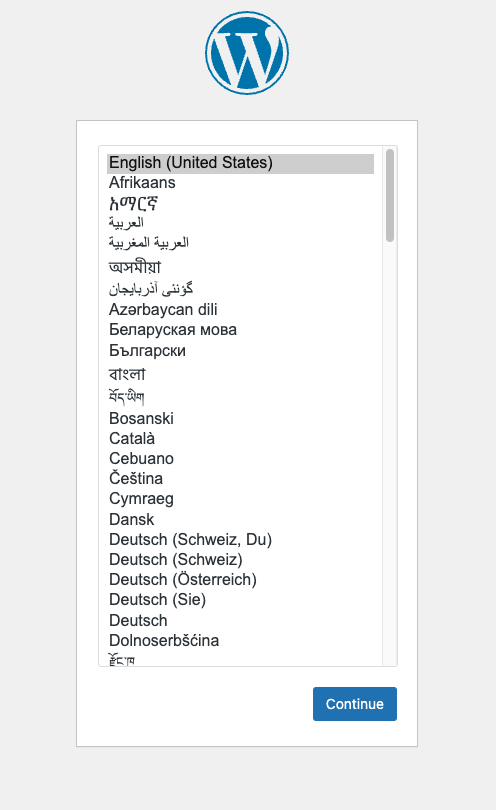
Congrats you did it!
If this is a new site, run the installer until completion and the database will automatically populate.