Hudson Creative Documentation
Launch Website & Enable SSL
Make sure you have the following before proceeding:
- Access to the client’s domain manager (Found in ALA)
- FTP Application (Cyber Duck, FireFTP)
- SQL Application (Sequel Pro, MySQL Workbench)
- IDE (Dreamweaver, VS Code)
Identify if the client or Hudson Creative is hosting the production website.
This will determine our DNS settings to point the final URL to the production website.
For this example, we are going to use “millcreekcommon.org”. In this scenario, the client has a final URL (managed in Hudson’s Cloudflare account) that is pointed to a temporary website, until the production website goes live. The development environment for this lives on the Hudson Creative server.
To learn more about the difference between development and production environments check this link out!
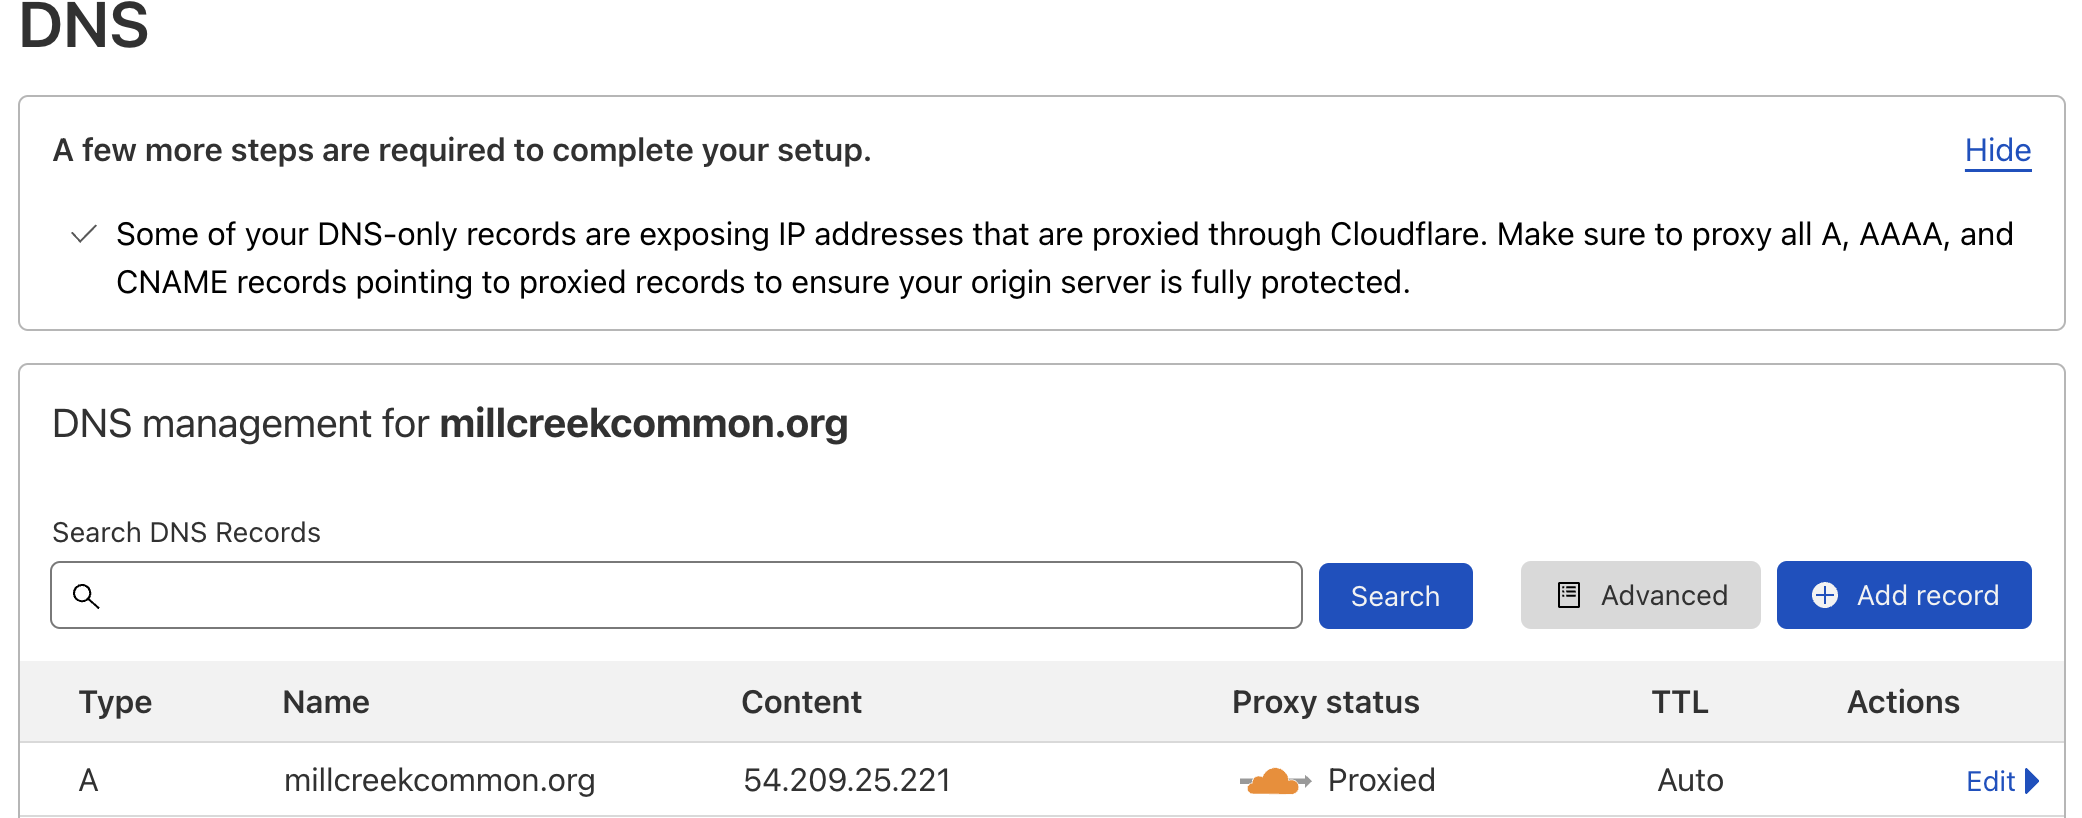
Point the final URL to the production server.
- Log into Cloudflare (or clients domain manager).
- Select the final domain.
- Make a new “A” record and use the following image as a resource to properly configure this record:
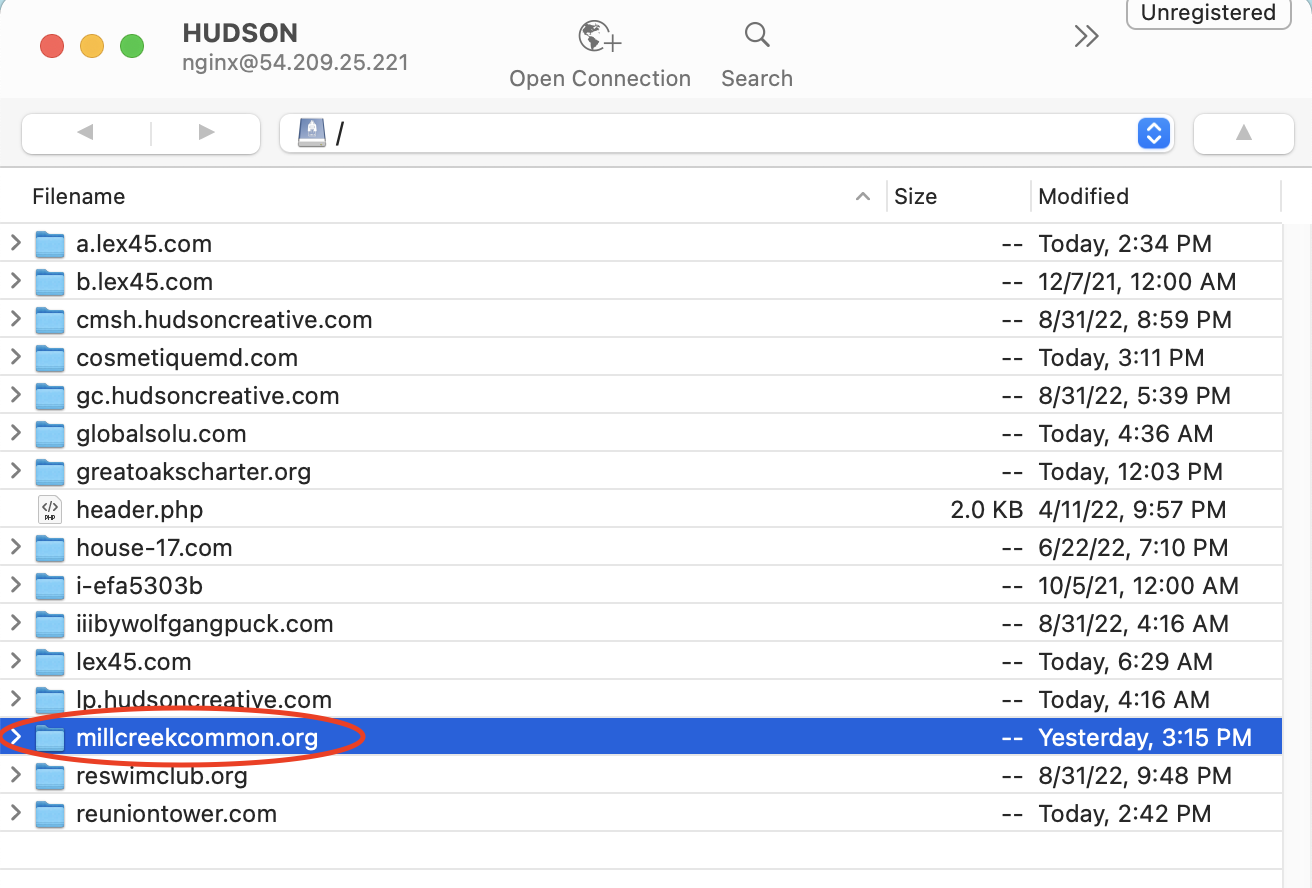
Time to change the development website URLs to match the final URL.
In this scenario, the development environment was created using the temporary subdomain “mcc.hudsoncreative.com”. This allowed our team as well as the client’s team to access development progress and provide feedback.
- Change the folder name to the new final URL “millcreekcommon.org”
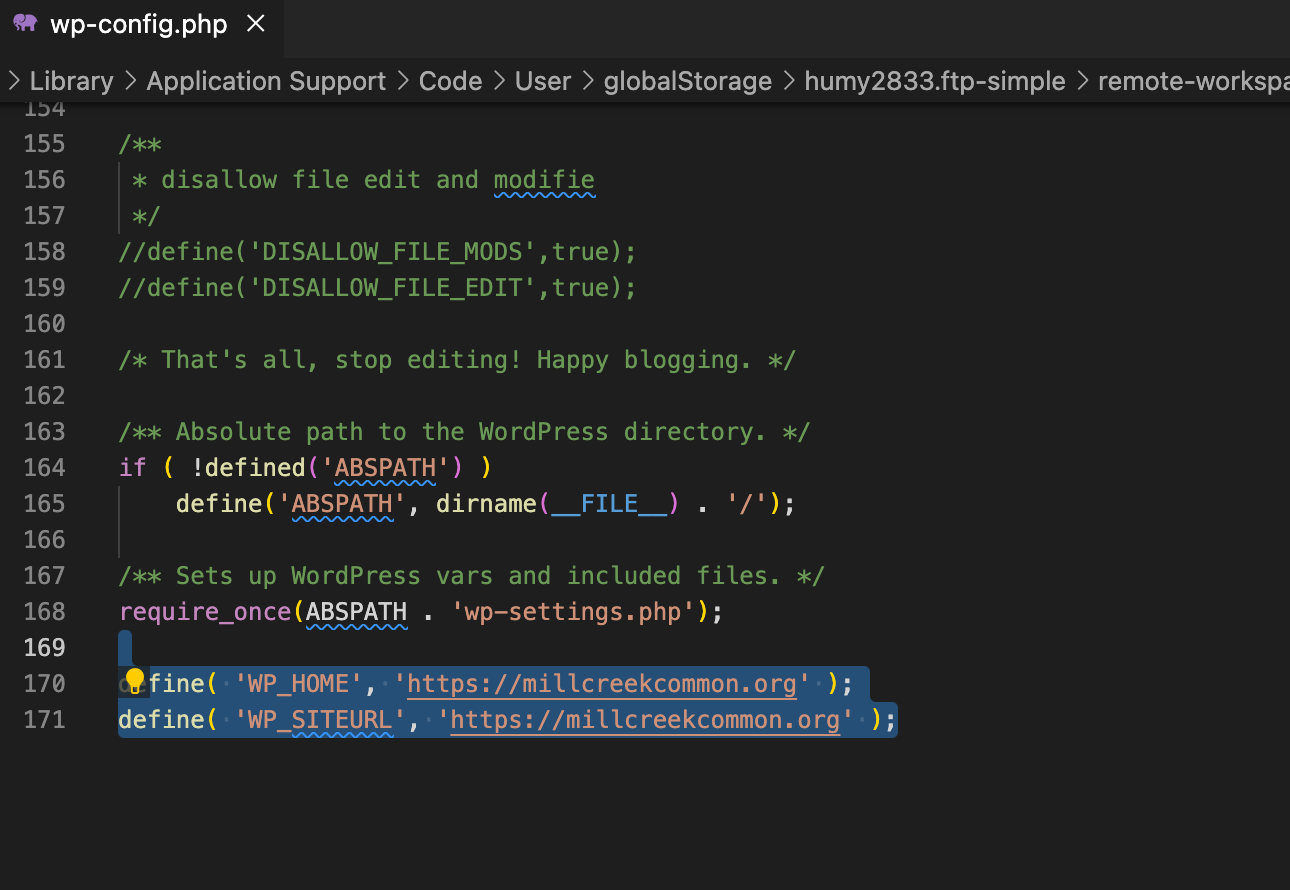
Next, we want to open up wp-config.php within this folder and change our site URL configuration:
- change the two lines for define(“WP_HOME”) and define (“WP_SITEURL”) to reflect the final URL.
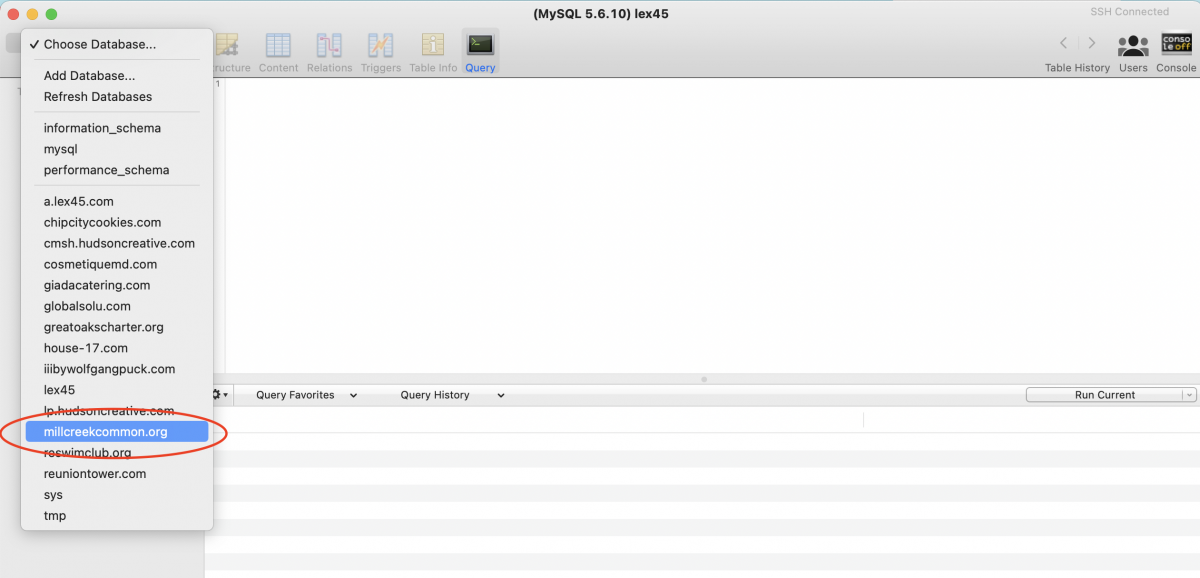
We need to change the database tables to reflect the Final URL.
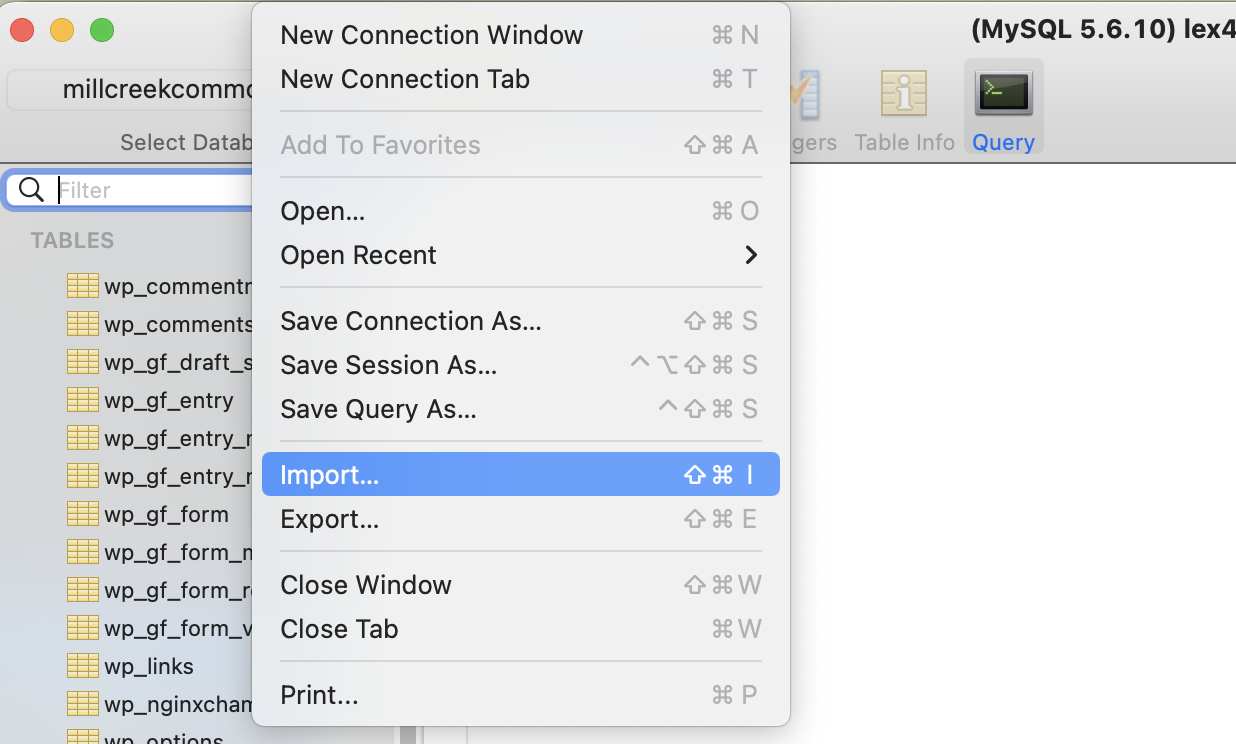
Fire up your SQL application and select the database driving our development website:
Export all the tables in the database as an SQL file:
Next, we find all instances in this SQL file of the old URL and change it to the final URL. In the video below I do a simple find and replace all. Don’t forget to save!
Now just import the SQL file you saved into the database that should still be selected in your SQL application.
Time to Enable our SSL Configuration!
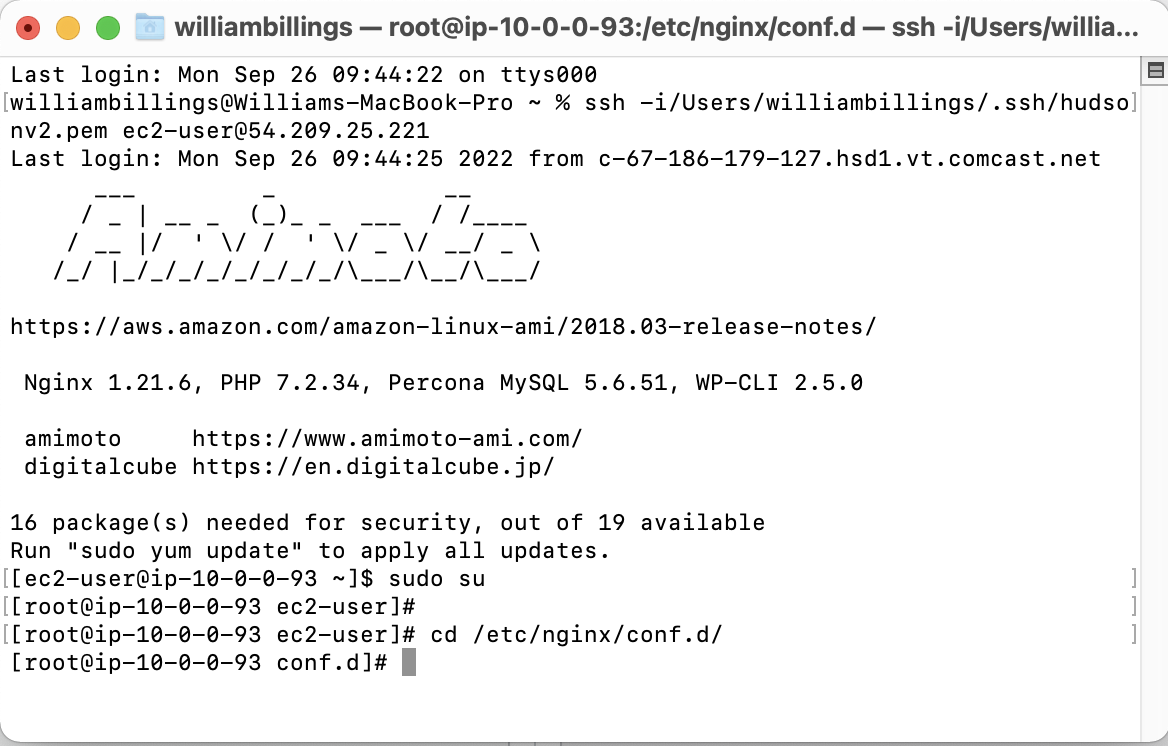
Open up the terminal and make an SSH connection to the Hudson Creative server.
Run the following commands:
– “cd /etc/nginx/conf.d/”
– “ls”
You will see the three configuration files for our final domain here. The only difference you will see in the screenshot below is that our millcreekcommon.org.ssl.conf file does not have “.bak” at the end. That is because we have already configured SSL for this client.

Next type into terminal:
– “cp yourfinaldomain.com.ssl.conf.bak yourfinaldomain.com.ssl.conf”
– “ls” <- just to verify the change was made
– “service nginx restart” <- to restart the server after committing the change.

That’s all folks!
Your website has been launched with SSL compatibility, just flush the DNS cache before previewing!
Missing Something?
Rundown this checklist:
– Make sure all DNS is pointing to the correct server.
– If a splash page exists, set the home page to the new home page.
– Make sure all redirects are installed if necessary.
– Make sure all pages are formatted for mobile.
– Make sure all titles, meta descriptions, and H1s are in place.
– Make sure the site is public (WordPress back end isn’t set to “discourage search engines from following and indexing).
– Additionally, make sure no pages or posts on site are drafts or set to non-index (using Yoast plugin).
– Do a quick Google search if the site previously existed, and click the link to make sure it is showing the new site.