Hudson Creative Documentation
Creating Documentation
Creating Documentation
Welcome to the wonderful world of Hudson Creative Documentation! At this point, you should be familiar with basics of WordPress (like adding new posts and pages). Instead, let’s get into the details of creating documentation.
Each documentation article is created as a WordPress page that uses the flexible content custom field. In fact, this very text is written using the flexible content section. You will notice that right below the content, a new section begins as Documentation Sections, which is where you will put every piece of content.
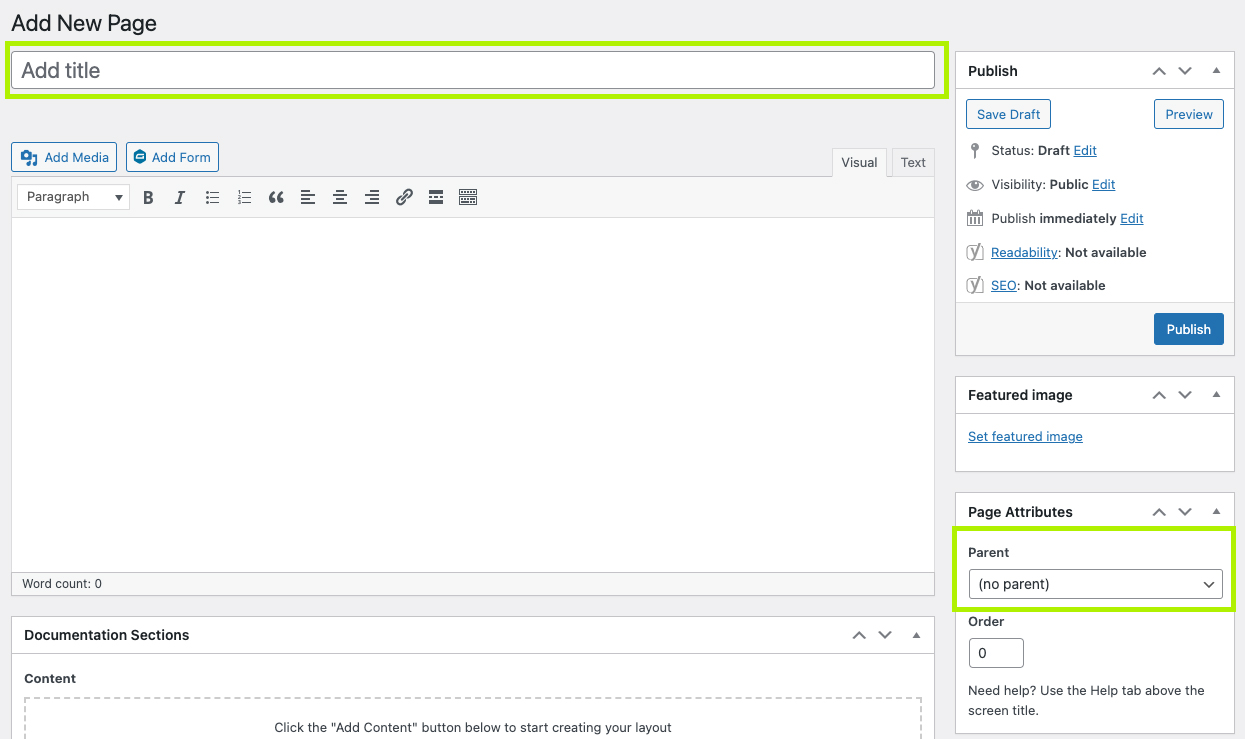
Begin by adding a new page in the WordPress back-end. The only parts we concern ourselves with here are the Title and Parent page. The title will appear as your link and ultimately inform your url as well. The parent is where the page will fall under our navigation menu. For example, if I was creating a page called Yelp Listing Claiming and Verification, it might have the parent page of Listings to help better categorize it.
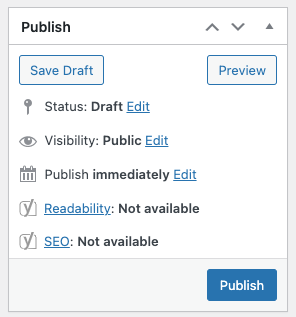
Publish your page before you add in content, as the system will not save the added flexible content immediately.
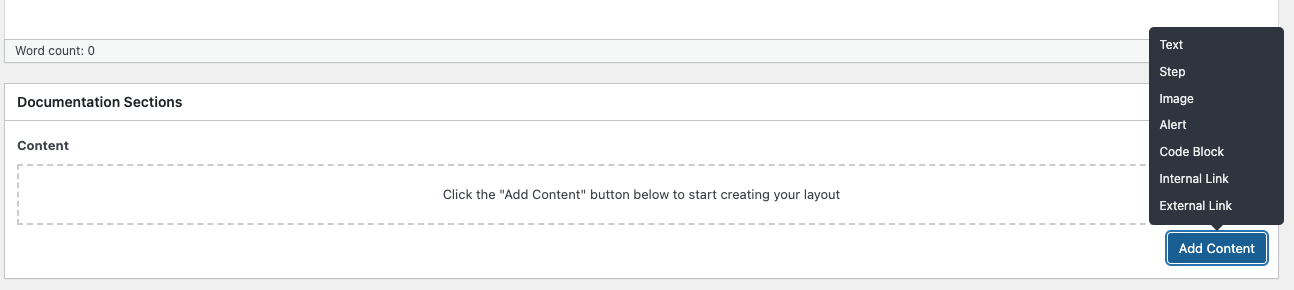
Content will only appear on page through the Documentation Sections, and not the content editor beneath the page title. Click the Add Content button to get started. You will see a few options here to select from in the way of content:
- Text is used to write out step-by-by instructions and should be used for lists and paragraphs of text.
- Step should be used to write out a clear and informative step within the process. Remember, we want users to be able to read this like an IKEA manual.
- You can use Image to break up sections by sharing a screenshot of what you are describing in the paragraph above or below.
- A Code Block should be used to add a piece of code that someone can copy and paste.
- An Alert should be used to warn someone of something that could potentially go wrong during a process, or just a general heads up on something you might perceive as an anticipated question.
- An Internal Link is a button that you can add after a paragraph, or at the end of a document, that can reference a different process doc within our site.
- An External Link should be added after a paragraph, or at the end of your documentation, to go to an outside source that is used for reference.
Once you have added in the content types, you can arrange, delete, or add new content types. Remember, the documentation should look like a manual and be concise and easy to understand!
When you’re done, you can click Update in the top right hand corner of the page. Be sure to view the page on the front-end and confirm that everything is rendering correctly in the sidebar navigation under the correct parent page. Happy Documenting!